This post contains affiliate links. If you make a purchase through links on our site, I may earn a small commission. Click to see full details of my Privacy Policy.
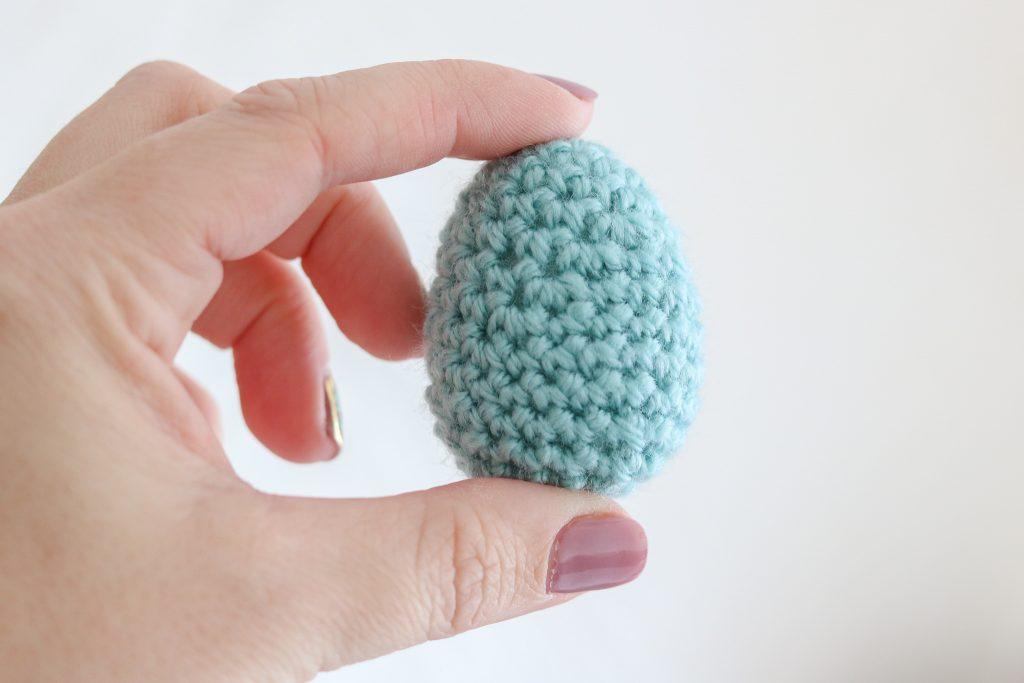
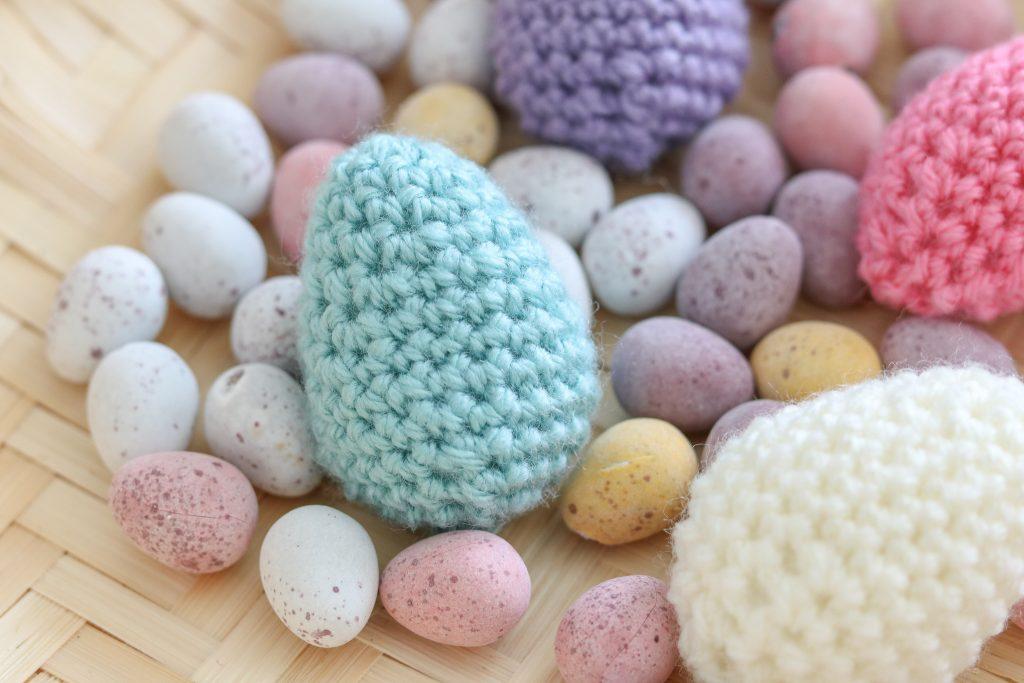
Crochet eggs are a popular Easter decoration and gift item. From solid pastels to colourful stripes and patterns you can personalise these and get creative. They can be embellished with beads, ribbons, and other decorations to add extra flair. Crochet eggs are a fun and creative way to add a touch of handmade charm to your Easter celebrations after all who doesn’t love a little crochet loveliness around their home.
In this post you’ll find everything you need to get started on this easter project including a video tutorial that can be found at the base of this post so if you’re not confident reading patterns I have you covered. I always recommend having the written pattern infant of you whilst you watch the video to help build your pattern reading skills.

easter crochet inspiration


MATERIALS AND TOOLS NEEDED
- Yarn: Rico Creative Cotton
- Hook: 4.5mm hook or appropriate size hook
- Scissors
- Darning Needle
PATTERN NOTES
Written in UK terms
Video tutorial can be found at the base of the post.

CROCHET TERMS
Chain (ch): Yarn over, pull through one loop on hook
Double Crochet (dc): Insert hook into stitch, yarn over, pull through two loops (2 loops on hook), yarn over, pull through both loops.
Double Crochet 2 Together (dc2tog): Insert hook into next st, yarn over, pull through (2 loops on hook), insert hook into next st, yarn over, pull through (3 loops on hook), yarn over, pull through all loops on hook.
Stitch(es) (st(s))
Unsure of the differences between UK and US terms? Need a refresher on how to do your stitches? In my ‘How to crochet: A handy reference guide’ EBook I help you with all of these terms and you can always have them to hand! You will also get exclusive access to free video instructions. Learn more about the eBook here.

CROCHET EASTER EGG PATTERN
Foundation chain: Chain 2.
Round 1: Work 8dc in second ch from hook. (8dc)
Round 2: Work 2dc in next st, work 1dc in each of next 4 sts, 2dc in next st, 1dc in each of next 2 sts. (10dc)
Add scrap of yarn as stitch marker to keep track of beginning of round.
Round 3: 2dc in next st, 1dc in each of next 5 sts, 2dc in next st, 1dc in each of next 3 sts. (12dc)
Move marker up after each round.
Round 4: 2dc in next st, 1dc in each of next 6 sts, 2dc in next st, 1dc in each of next 4 sts. (14dc)
Round 5: 2dc in next st, 1 dc in each of next 7 sts, 2dc in next st, 1dc in each of next 5 sts. (16dc)
Round 6: 2dc in next st, 1dc in each of next 8 sts, 2dc in next st, 1dc in each of next 6 sts. (18dc)
Round 7: 2dc in next st, 1dc in each of next 9 sts, 2dc in next st, 1dc in each of next 7 sts. (20dc)
Round 8: 2dc in next st, 1dc in each of next 10 sts, 2dc in next st, 1dc in each of next 8 sts. (22dc)

Round 9: 1dc in each st around. (22dc)
Round 10: *Dc2tog over next 2 sts, 1dc in each of next 4 sts, dc2tog over next 2 sts, 1dc in next 3 sts, repeat from * once. (18dc)
Round 11: *Dc2tog over next 2 sts, 1dc in each of next 3 sts, dc2tog over next 2 sts, 1dc in next 2 sts, repeat from * once. (14dc)
*Pull up loop on your hook to save your space, add some stuffing to egg.
Round 12: *Dc2tog over next 2 sts, 1dc in each of next 2 sts, dc2tog over next 2 sts, 1dc in next st, repeat from * once. (10dc)
Round 13: (Dc2tog over next 2 sts) five times, insert hook in stitch opposite the gap, work dc then cut off yarn leaving tail. (5dc)
Use your darning needle to sew ends into egg after that manipulate your crochet egg into shape using your hands.
PIN FOR LATER
VIDEO TUTORIAL
I always love to see your makes so if you try any of my patterns or follow my stitch tutorials please tag me @bellacococrochet or use the #bellacococrochet


No Comments