This post contains affiliate links. Click to see full details of my Privacy Policy.
Let’s be honest, as crocheters, blankets are one of the most satisfying projects to work on. Not only is there a comfort in the repetitive motion of creating stitches, but you’re left with a big, square of fabric that’s full of cosiness and warmth. There’s a LOT to love about a crochet blanket.
I’m so thrilled to welcome Nazrien from Gypsy in Rhapsody to my blog today to share her blanket pattern, the I Mitered Pined For You Blanket. Created with the alpine stitch, (one of my most popular stitch library posts!) this beautiful crochet blanket mimics mitered wood to create a stunning graphic effect and dense, warm fabric. Ideal for keeping away chills!
Nazrien says, “I discovered the alpine stitch on Instagram and crocheted a cowl for myself to test the stitch. I loved the texture, the staggering effect of the front post double crochet (fpdc) and double crochet (dc). With that in mind I began to imagine a blanket with the alpine stitch providing an optical illusion. Having a mitered center always gives a distorted effect and the idea of combining these two elements began to grow.“
As this is a guest post, Bella Coco Crochet is unable to answer any queries. If you have a question, please contact the designer directly and they will be happy to help you.
MATERIALS & TOOLS
Yarn: Worsted weight yarn like Caron Cakes or Paintbox Simply Aran
Hook: 5mm
Darning needle
Scissors
SIZE
Tension is not critical for this project
Finished size blanket measures approx. 35” x 35”
NOTES
Pattern written in US terms
This pattern is for medium to advanced crocheters. If you have a working knowledge of alpine stitch is, then this crochet blanket pattern will be straightforward.
If you are new to the alpine stitch, I recommend creating a swatch to practice the stitch. You can find written and video instructions for that, here: Alpine Stitch

The starting chain 1 of each row does not count as a stitch
ADVANCED NOTES
The pattern increases with 3 stitches at the top or the “peak” of the crochet blanket. This is known as the PK stitch.
Even rows will always be sc rows. You increase with 3 sc in only the peak of the rows-to know which is the peak, crochet 3 sc into the fpdc stitch (from the previous row) at the top of the square.
Odd rows will always be the alpine stitch rows. You increase with the Pine Stitch or PS in only the peak of the rows.
You can tell you are doing the stitches correctly when the total number of stitches is an odd number increased by 2. You start row 1 with 3 stitches. Row 2 ends with 5 stitches and so on.
At the end of the row, you will have a note of how many dcs and fpdcs you have made with a total number of stitches at the end of the row. E.g. Row 3 has 6 dcs and 1 fpdc. When you look at your row, you should have that number of dcs and fpdc. This brings a total of 7 stitches. This type of stitch counting will help you as you progress.
The rows that have 2 dc in the first two stitches (rows 7, 11, 15 and so on) have 2 dcs before the fpdc around the fpdc two rows below.
If stated the following: dc, fpdc, dc, fpdc, crochet these stitches in the next 4 stitches.
If it is (dc, fpdc) x 2, crochet the following twice with each stitch going in the next 4 stitches.
I recommend using more than one color. Try the following: for 2 colors, change every 2 rows, for three or more, have each row a different color. In any case, to change colors, just drop the finished row color to the FRONT of your finished work row, then turn the work, so that the yarn is now BEHIND the work. Then pull up a loop with the new yarn.

TERMS & ABBREVIATIONS
Chain(s): Ch(s): Yarn over and pull up a loop.
Single Crochet (sc): Insert your hook into the chain or stitch, yarn over and pull through (you will have two loops on the hook) yarn over and pull the yarn through both loops on the hook.
Double Crochet (dc): Yarn over, insert into stitch, yarn over, pull up a loop, you will have three loops on the hook. Yarn over, pull through two loops, yarn over, pull through remaining two loops.
Front Post Double Crochet (Fpdb): Yarn over, insert hook around post of stitch from front to back to front, yarn over, pull up a loop, you will have three loops on the hook. Yarn over, pull through two loops, yarn over, pull through remaining two loops.
Pine Stitch (PS): dc, fpdc around the fpdc two rows down, dc in the same stitch of the previous dc
Peak Stitch (PK): “top” of the blanket or your increased stitch or stitch 2 of 3 stitches-either Sc for even rows or pine stitch for odd rows.
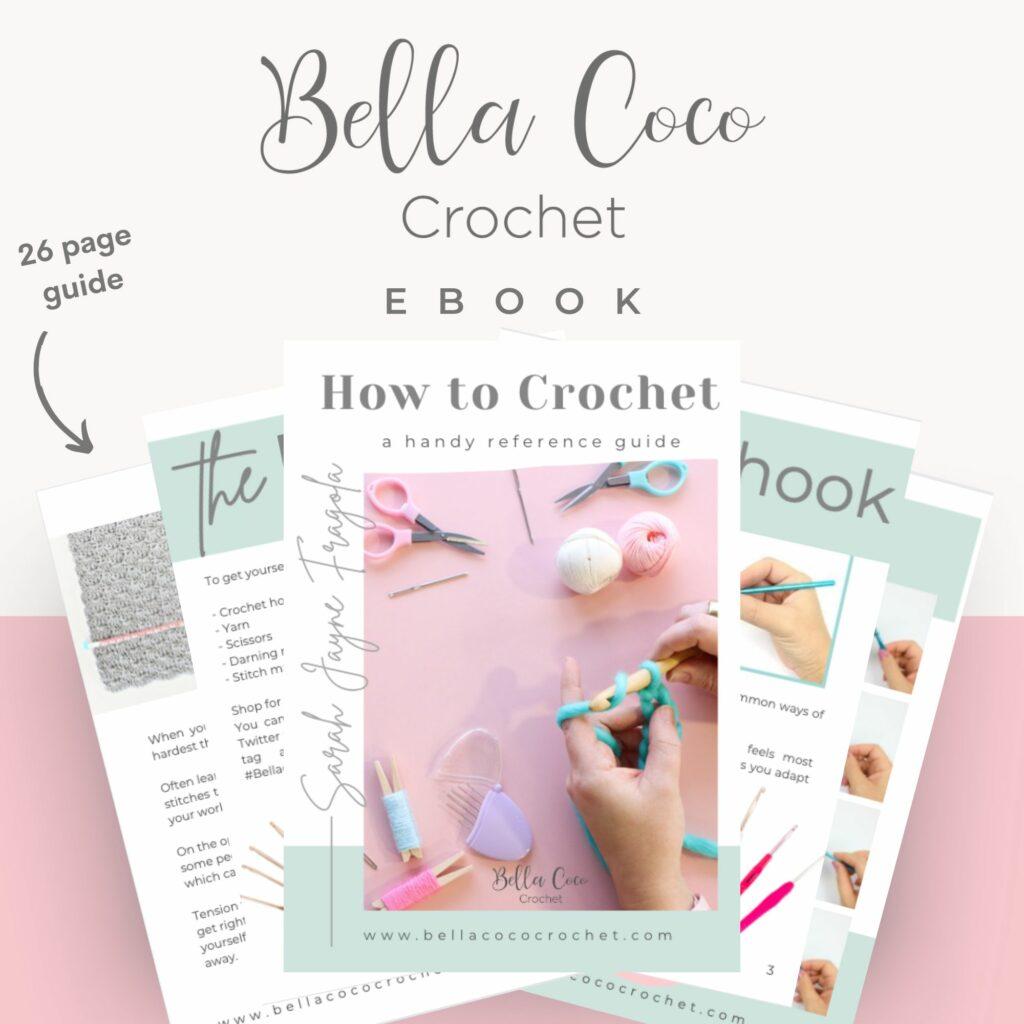
Unsure of the differences between UK and US terms? Need a refresher on how to do your stitches? In my ‘How to crochet: A handy reference guide’ EBook I help you with all of these terms and you can always have them to hand! You will also get exclusive access to free video instructions. Learn more about the eBook here.
If you LOVE Alpine Stitch, you’re going to adore my Alaskan Delights hat too…grab the pattern here, Alaskan Delights Hat.

MITERED CROCHET BLANKET PATTERN
Row 1: Ch 2. 3 dc in third ch from hook. Turn. (3st)
Row 2: Ch 1. Sc in first dc, 3 sc in next dc, sc in last dc. Turn. (5st)
Row 3: Ch 1. Dc in the next 2 sc. PS in PK. Dc in next 2 sc. Turn. (7st)
Row 4: Ch 1. Sc in all stitches with 3sc in PK. Turn. (9st)
Row 5: Ch 1. (dc, fpdc) x 2, PS in PK, (dc, fpdc) x 2, dc in last stitch. Turn. (11st)
Row 6: Ch 1. Sc in all stitches with 3 sc in PK. (13st)
Row 7: Ch 1. Dc in first two sc, fpdc, dc, fpdc, dc, PS in PK, dc, fpdc, dc, fpdc, dc in last two sc. Turn. (15st)
Row 8: Ch 1, sc in all stitches with 3 sc in PK. Turn. (17st)
Row 9: Ch 1, (dc, fpdc) x 3, dc in next stitch, PS in PK, (dc, fpdc) x 3, dc in last stitch. Turn. (19st)
Row 10: Ch 1. Sc in all stiches with 3 sc in PK. Turn. (21st)
Row 11: Ch 1. 2 dc in first two sc, (fpdc, dc) x 4, PS in PK, (dc, fpdc) x 4, dc in last sc. Turn. (23st)
Row 12: Ch 1. Sc in all stitches with 3 sc in PK. Turn. (25st)
Row 13: Ch 1. (dc, fpdc) x 6, PS in PK, (fpdc, dc) x 6. Turn. (27st)
Row 14: Ch 1. Sc in all stitches with 3sc in PK. Turn. (29st)
Row 15: Ch 1. 2 dc in first two sc. (fpdc, dc) x 6, PS in PK, (dc, fpdc) x 6, dc in last sc. Turn. (31st)
Row 16: Ch 1. Sc in all stitches with 3sc in PK. Turn. (33st)
Rows 17 and beyond: Continue along until you reach your desired size ending with the sc row or even row.

BORDER
After your sc row, do not fasten off. Continue sc in all stitches on the sides with 3 sc in all corners. Fasten off and weave in all ends.
BLOCKING
You will need to block your work once you finished as the blanket tends to curl.


1 Comment
Hazel
July 23, 2020 at 10:06 pmI love this blanket and the colors. You always have such great patterns.